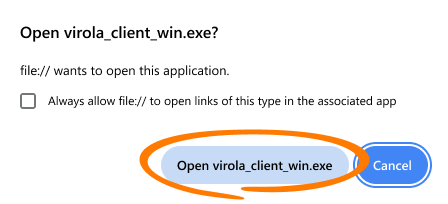
You will need to confirm that you want to open the link with the Virola Client app:
Once the Virola Client is installed and running, click the self-registration link:
virola://command?action=self-registration&host=virola.chat&port=7777
You will need to confirm that you want to open the link with the Virola Client app:
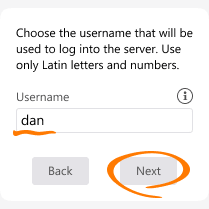
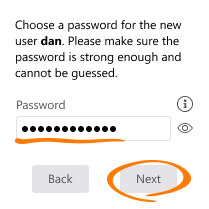
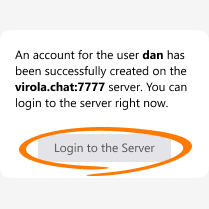
Once the app opens, you'll see the self-registration wizard. Follow the steps:
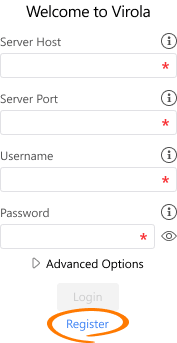
If you don't have a self-registration link, you can still register on a server that has the self-registration option enabled. You just need to know the server's host name and port number.
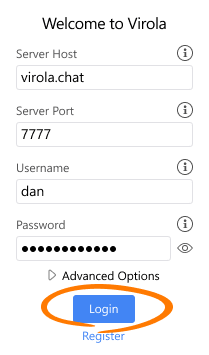
To register manually:
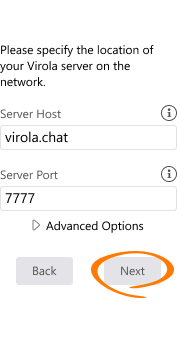
The self-registration wizard will then start automatically.